Holidays
DIY Chalkboard Wall Hanging Tutorial
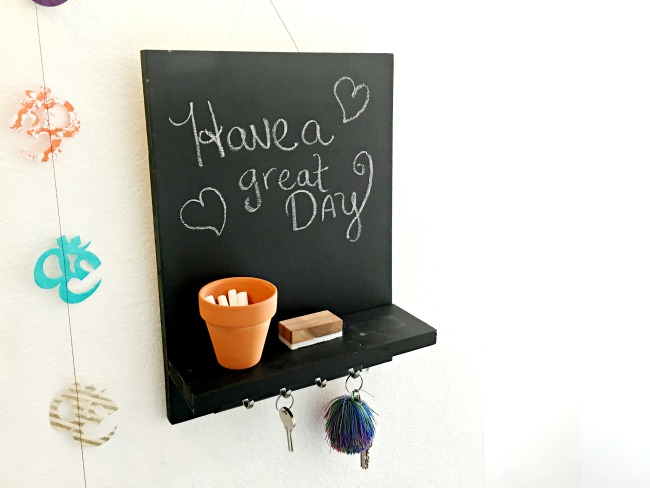
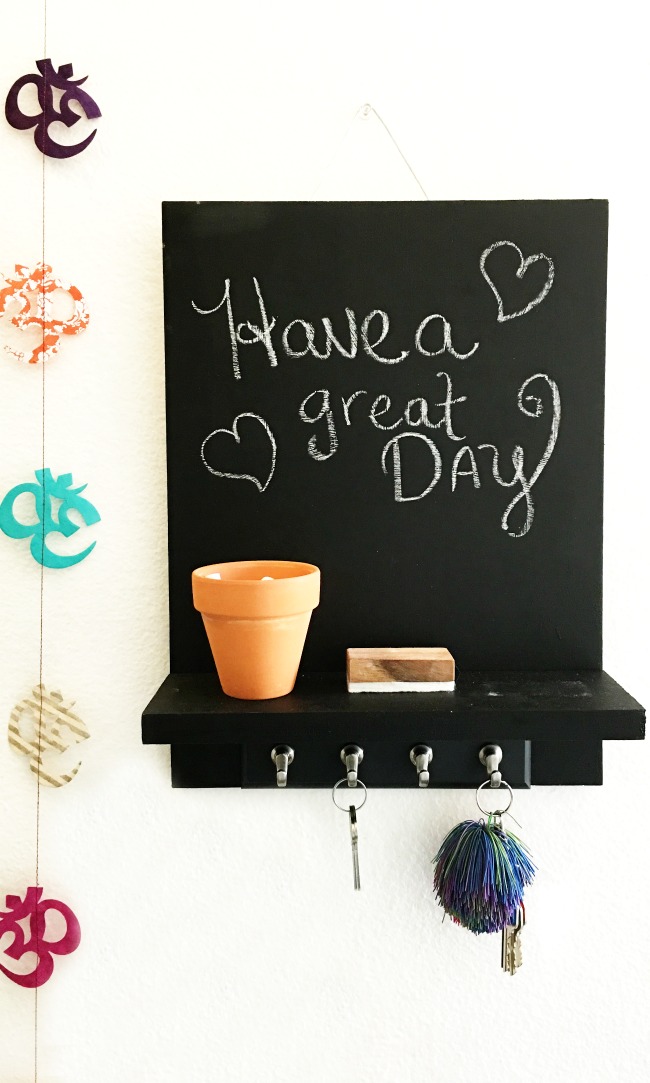
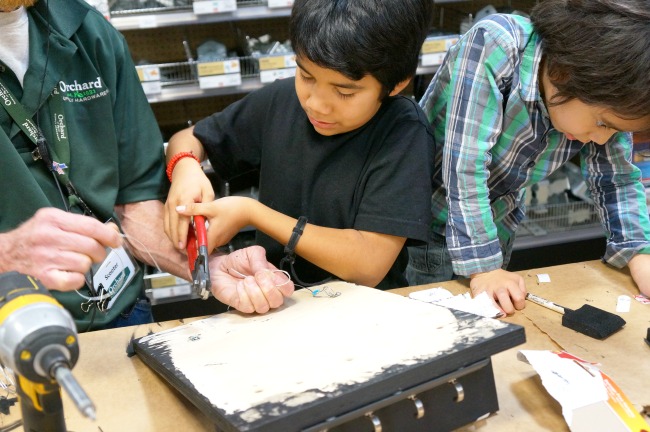
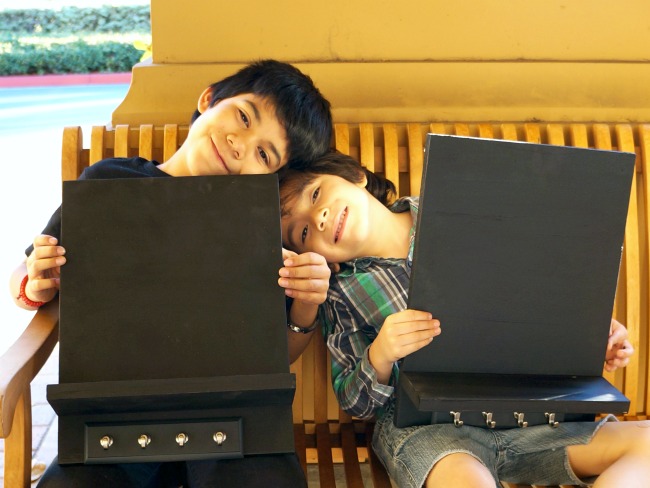
The kids spent an afternoon at Orchard Supply Hardware making the cutest chalkboard wall hanging. Luckily, I have two boys – so that means two chalkboards for my home!!! I fully plan on taking one of them to hold some of my jewelry. I mean, these wall hangings are super functional and they were handmade with love.
Orchard Supply Hardware had everything we needed for the project and the kids had it done pretty quick. It would have been quicker if we hadn’t shopped around for so long. Besides this cute project, we ended up leaving with new succulents, some potting soil and tiny decorative rocks to top our new plants. Oh, and candy – because OSH has the best retro candy at its checkout lanes.
Chalkboard Wall Hanging Tutorial
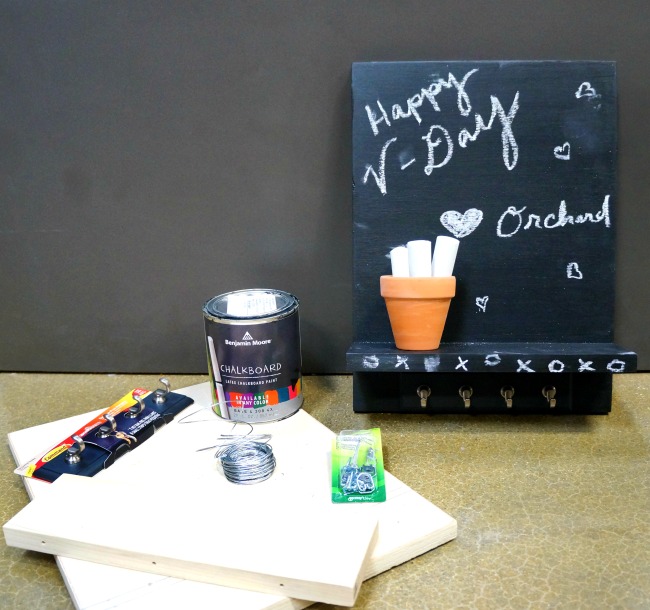
Supplies
- Piece of wood measuring 3/4”(h) by 12”(w) by 16” (l)
- Piece of wood measuring 3/4”(h) by 12”(w) by 3 1/2” (l)
- Benjamin Moore Chalkboard Paint
- 3 Screws
- Command Slate Key Rail, Small
- 2 D-Rings (for small pictures) with screws
- Picture Hanging Wire
- Terra cotta pots
- Chalk
Tools & Equipment
- Foam brushes
- Drill
- Wire cutters
- Duct tape
Instructions
Paint the top and sides of each piece of wood with chalkboard paint using the foam brushes. Let dry.
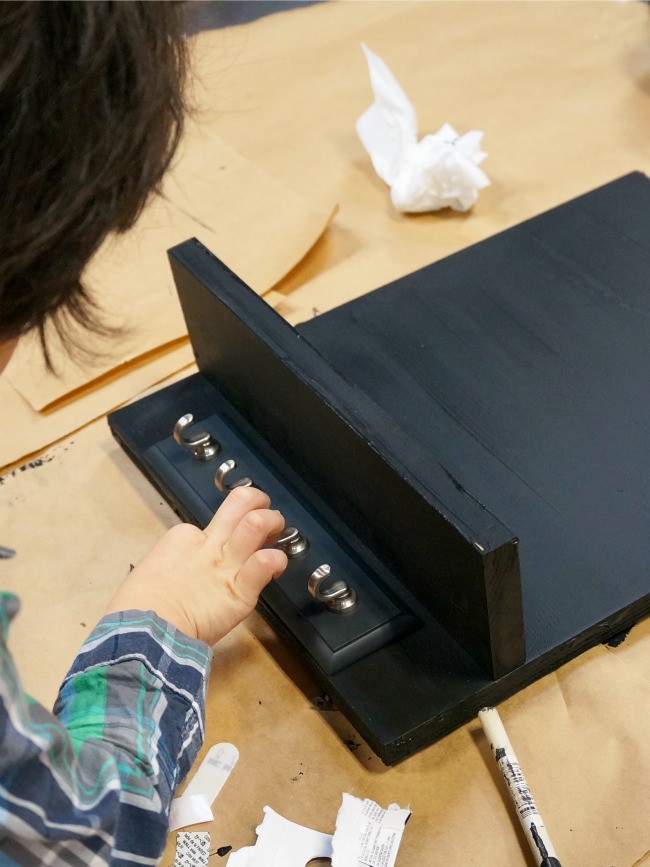
Attach the shelf three inches from the bottom of the wall hanging with three screws.
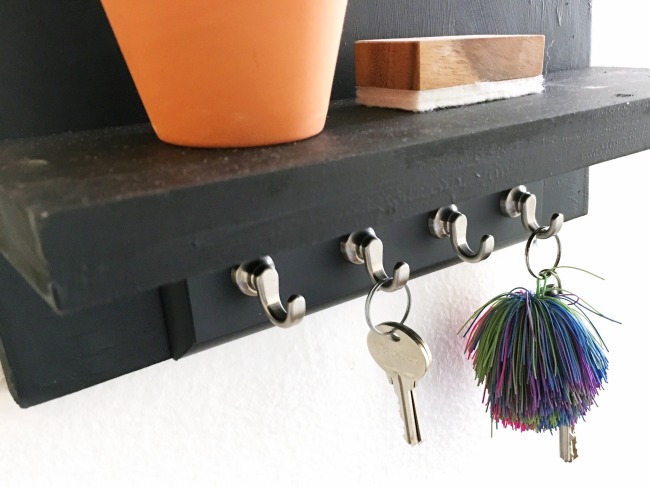
Remove the adhesive covers from the Command Key Rail and attach underneath the shelf.
Drill the D-rings onto the wall hanging 3 1/2″ from the top and 1 3/4″ from the side. Use a piece of duct tape to hold the D-rings while you’re screwing them in.
Wrap picture hanging wire from the D-rings and secure by wrapping with a piece of duct tape.
Add terra cotta pot to the shelf. Wait at least 24 hours until writing on the chalkboard wall hanging.
You can find all these products at your local hardware store. We had a blast doing this project and watching the kids accomplish a feat like using the drill and painting was a much needed reminder that they’re old enough for more complex projects.
And just in case you don’t think the tutorial is easy enough, watch the video below for step-by-step instructions!
Video: DIY Chalkboard Wall Hanging Room Decor
Originally published on February 23, 2016. Last Updated on August 26, 2018 by Pattie Cordova






13 Comments