


Small business
How to Hide a Pinterest Image in a Blog Post
Let’s face it… some of us have A LOT of images in your blog posts (guilty!). And sometimes adding a Pinterest image is just not what you want to do, or maybe you’re looking to have more than one Pinterest-friendly image in one post. This might be the solution! Use this easy step-by-step tutorial and learn how to hide a Pinterest image in a blog post. I would also suggest bookmarking this page (or taking a screenshot of it) so you can reference later. Also, this tutorial is for use on WordPress blog posts.

A step-by-step tutorial on how to hide a Pinterest image in a blog post.
How to Hide a Pinterest Image in a Blog Post
I follow these steps to hid a Pinterest image once my blog post is complete. I choose the image that I think will best represent the blog post and add the Pinterest image in the backend to that image.
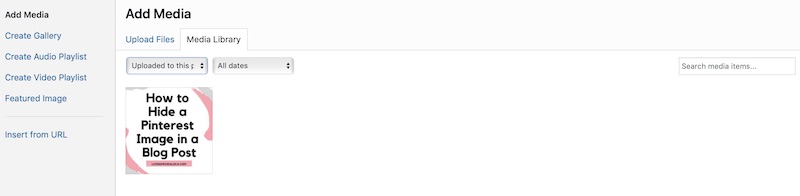
Step 1: Upload the image you want pinned in the post
To start, I add the image I want to show up in the post. In order to hide an image for Pinterest, it has to be attached to an image in the post that you do want to show up.
This is the how the html code looks for my image above:
<img src="https://livingmividaloca.com/wp-content/uploads/2018/06/knotts-mango-chamoy-icee.jpg" alt="new mango chamoy icee with tajin topping with white dress in the background - livingmividaloca.com" width="1000" height="1333" class="aligncenter size-full wp-image-18025" />
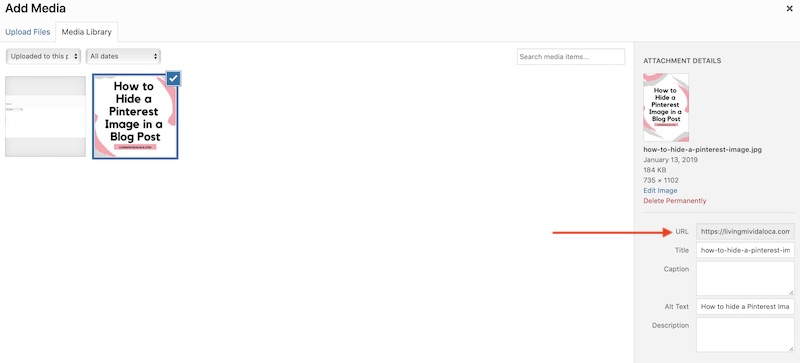
Step 2: Upload the image that will be saved to Pinterest
Upload the image that will populate when your reader goes to save the image listed in step 1. You’ll need the URL for the next step.
Step 2: Add this code to let browsers know to pin the Pinterest-friendly image code
Add this Pinterest code into your image code. This is why I like to bookmark this blog post – easy reference. You can also add it into your “notes” on your computer for reference later.
data-pin-url=" "

data-pin-media=" "

data-pin-description=" "
Here’s the breakdown of the code above:
- data-pin-url= the URL you want your visitors to view when your pin is clicked
- data-pin-media= the image you want your visitors to pin, i.e. your hidden pin image
- data-pin-description= use this space to add your Pinterest-friendly description that will populate with your pin.
Once you add the code, it will look something like this:
<img src="https://livingmividaloca.com/wp-content/uploads/2018/06/knotts-mango-chamoy-icee.jpg" alt="new mango chamoy icee with tajin topping with white dress in the background - livingmividaloca.com"

data-pin-url="https://livingmividaloca.com/hide-pinterest-image"

data-pin-media="https://livingmividaloca.com/wp-content/uploads/2019/01/how-to-hide-a-pinterest-image.jpg"

data-pin-description="How to hide a Pinterest Image in a blog post with easy step-by-step instructions - livingmividaloca.com - #LivingMiVidaLoca #PinterestTips #PinterestBlog" />
Step 3: Check to make sure it’s working before publishing your post
Click “save draft” and then “preview” on your WordPress blog post. Scroll to the image with the hidden pinnable image and click to pin it. This will ensure that you added the coding correctly and is working as it should.
And that’s it! You’re done. I encourage you to bookmark this page (or even better – pin the first image!) to reference later and learn how to hide a Pinterest image in a blog post without getting dinged by Google.
p.s. I also have a great list of social media resources, tools and apps to make blogging a little easier! Also… Tailwind!!! If you’re using Pinterest, you NEED to get a Tailwind account to schedule, share and now they have a great hashtag resource too!
Originally published on January 13, 2019. Last Updated on May 15, 2019 by Pattie Cordova
