


Life in Orange County
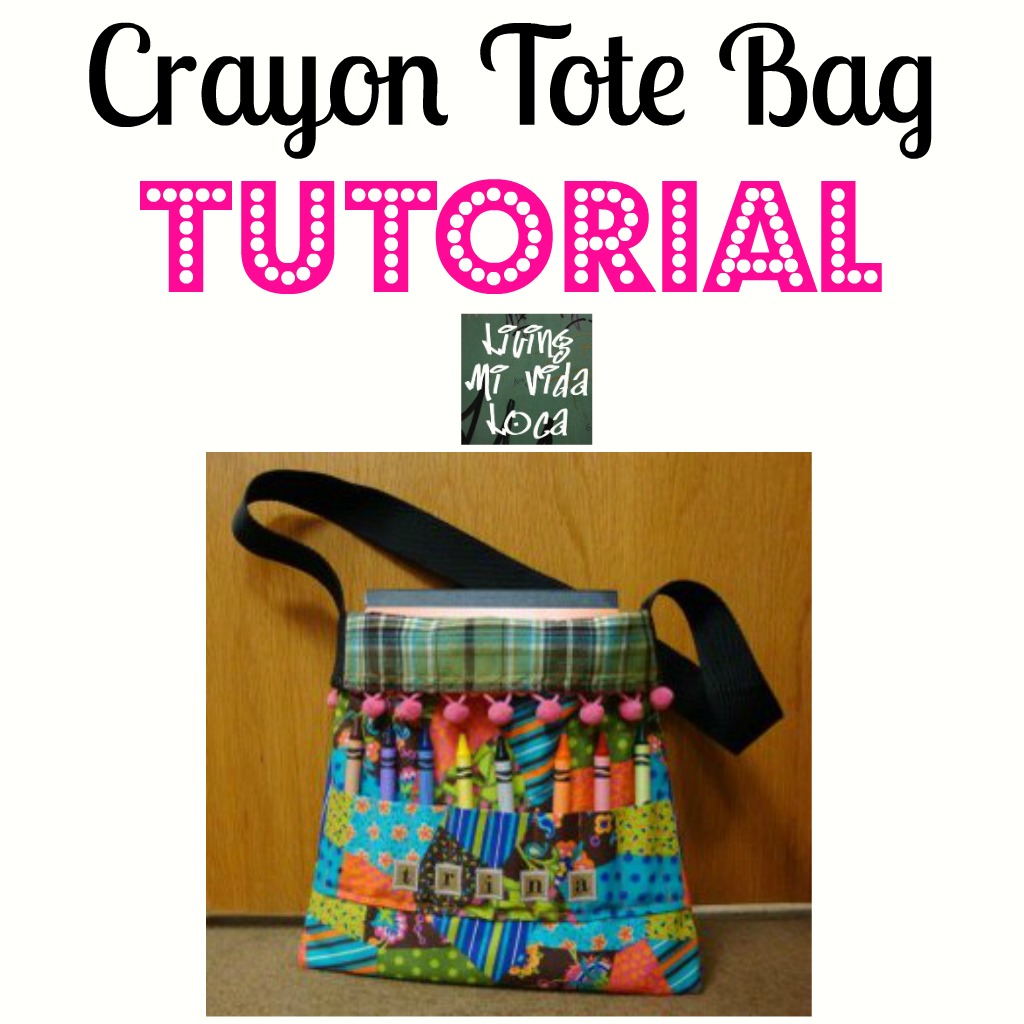
Crayon Tote Bag Tutorial
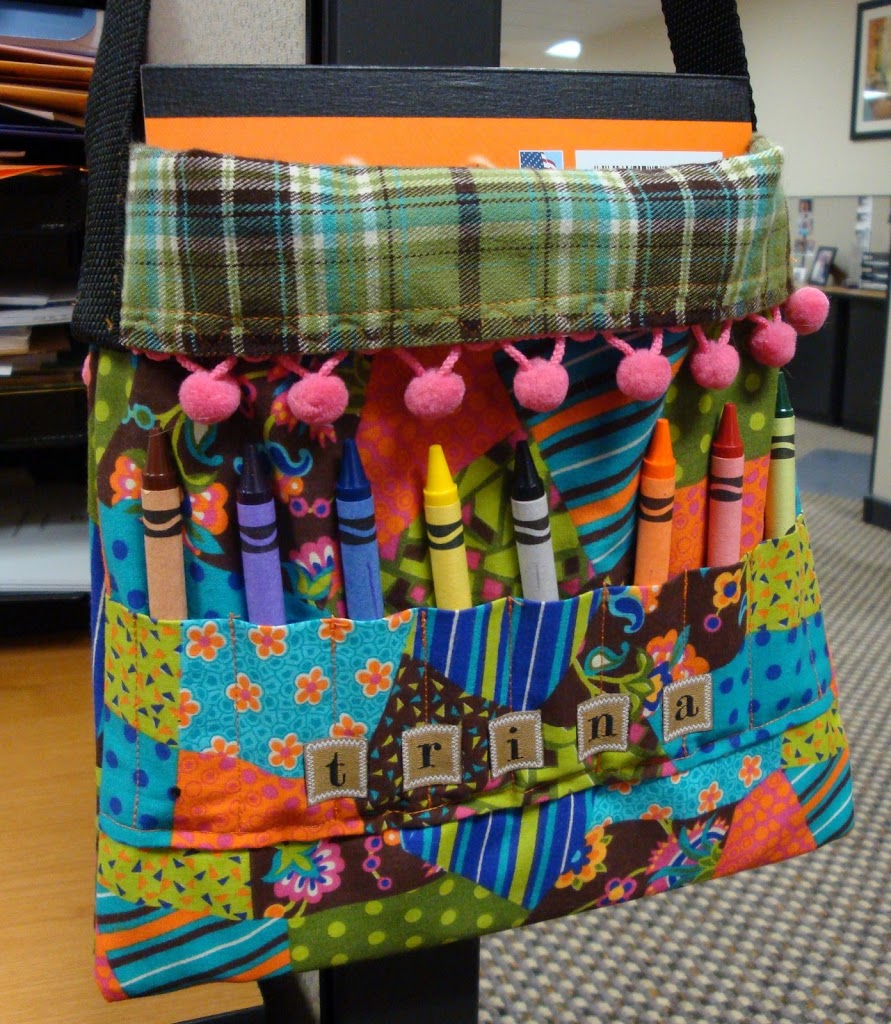
My niece is having a birthday soon. She happens to love art, so I decided to make her a crayon tote bag that would allow her to carry her sketch pads and crayons in a cute fashion.
Material
- Lining – 22 1/4″ x 10 1/2″ fabric
- Outside – 22 1/2″ x 10 1/2″ fabric
- Medium weight interfacing – 22″ x 10″
- Crayon holder – 6″ x 10 1/2″ fabric
- Strap – 32″ long
- Coordinating thread
Optional embellishments: - webbing – 9 1/4″ long fringe –
- 2 pieces of fringe each 9 1/4″ long
- Iron on letters
Directions
Whew… finally finished it last night. This is my first tutorial so please bear with me.
1. Cut three pieces of coordinating fabric. Fold each fabric in half and press with iron.

2. Fold the smaller piece over a 1/2 in. and press. This will create a finished border.
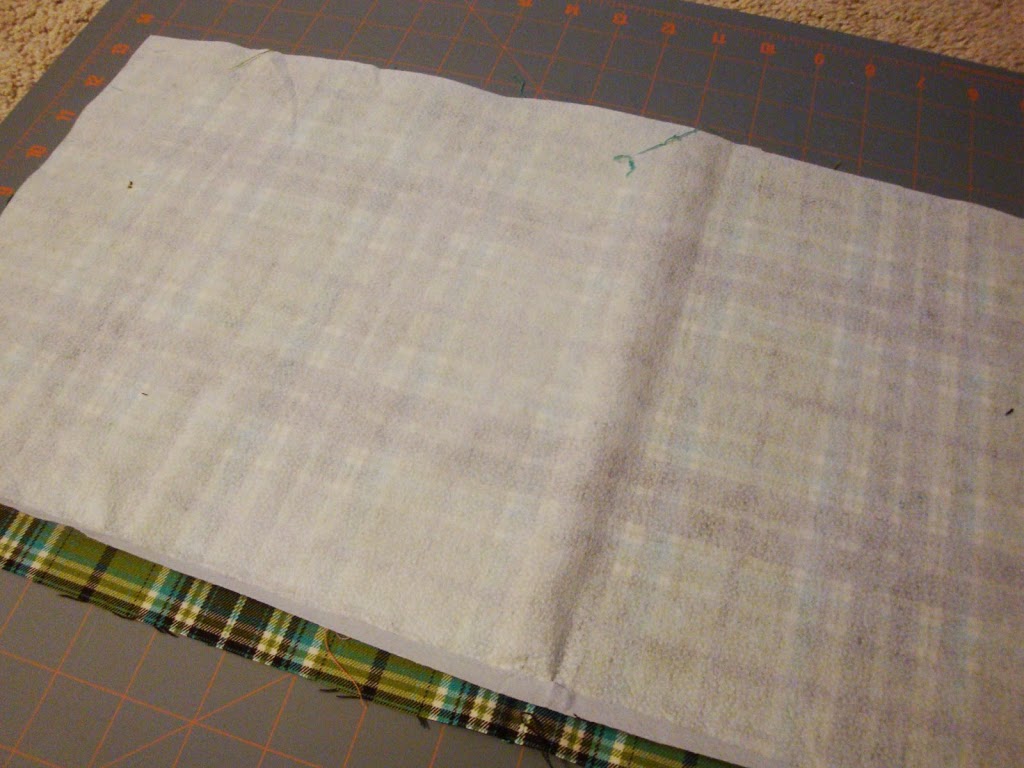
3. Cut a piece of interfacing measuring 22″ x 10″. I cut mine to measure the same size as the fabric I cut ealier and I learned that it was not the right move. You’ll see why later.
* Put the rough side of the interfacing facing the wrong side of the fabric. Iron using low heat/silk setting.
4. Line the two larger fabrics wrong sides together.
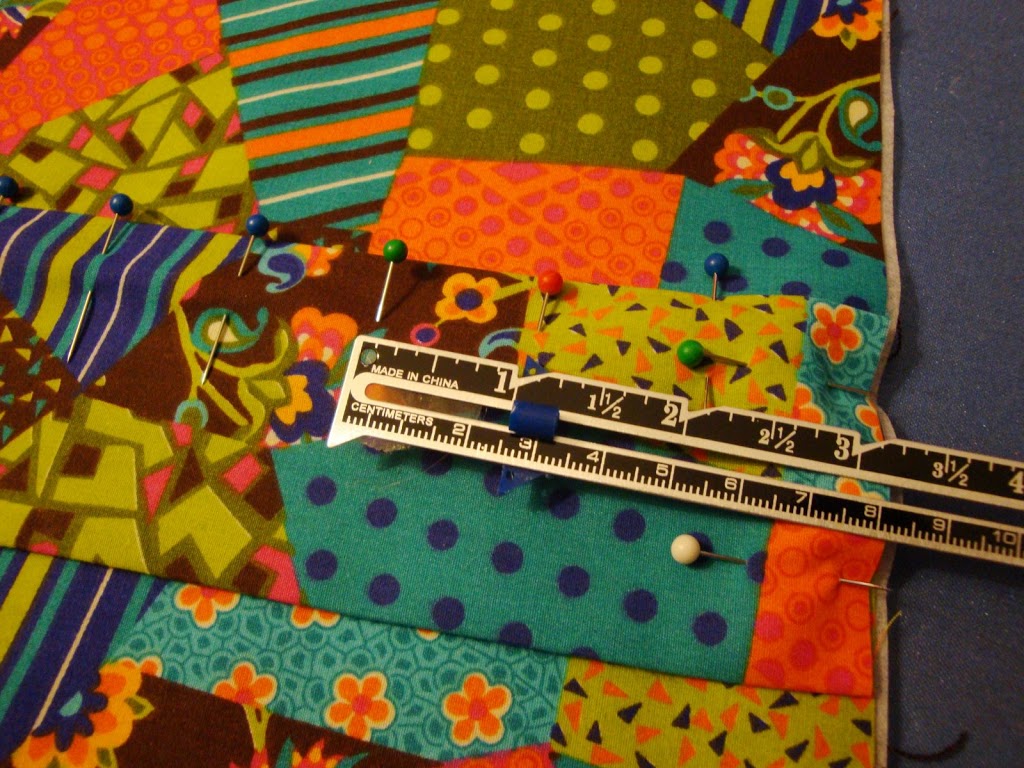
* Pin the crayong holder to the outside of the bag, 2″ from the fold.

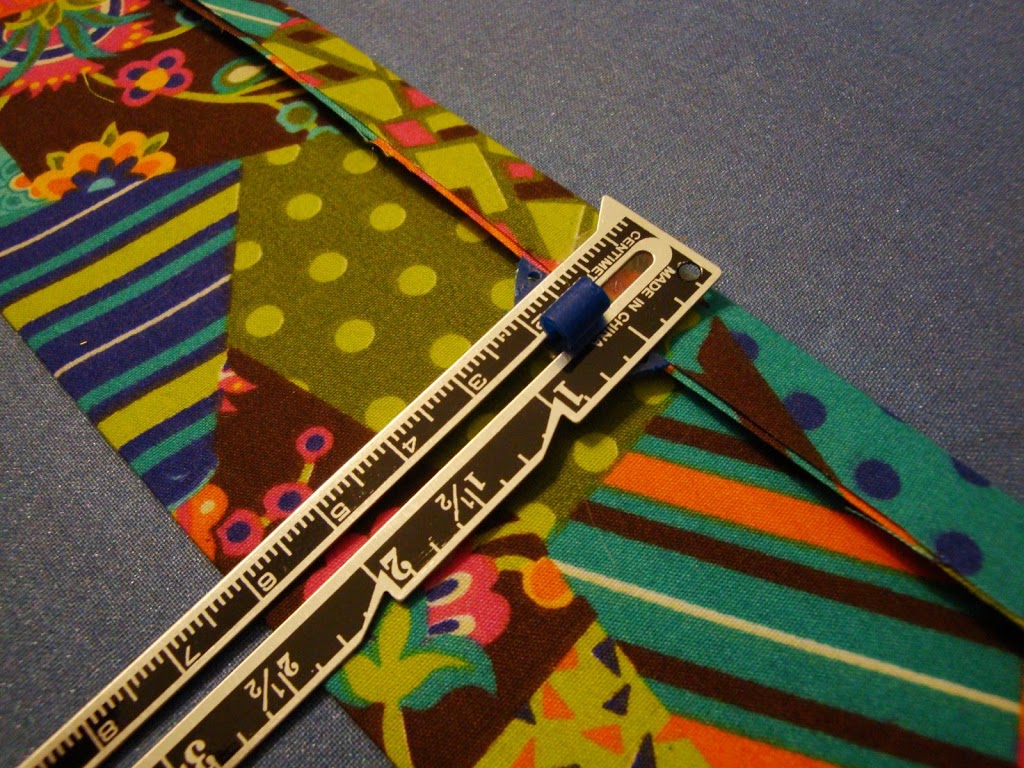
5. Measure 1 1/4″ into the crayon bag and mark with a pin. Space additional pins 1″ apart.
* Remember to measure 1 1/4″ on the other side too.
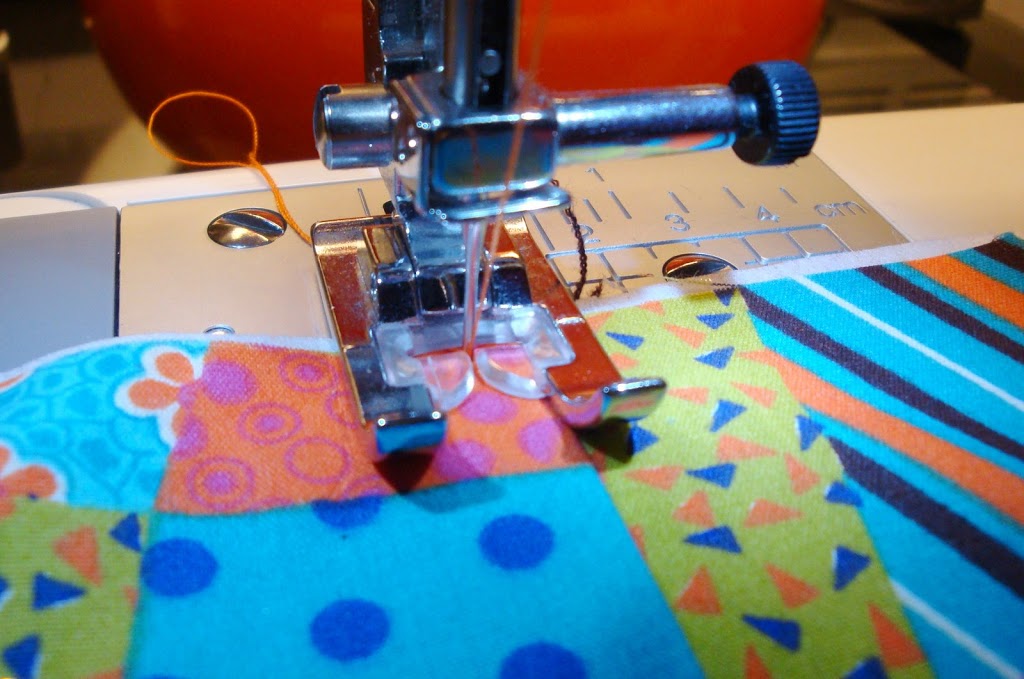
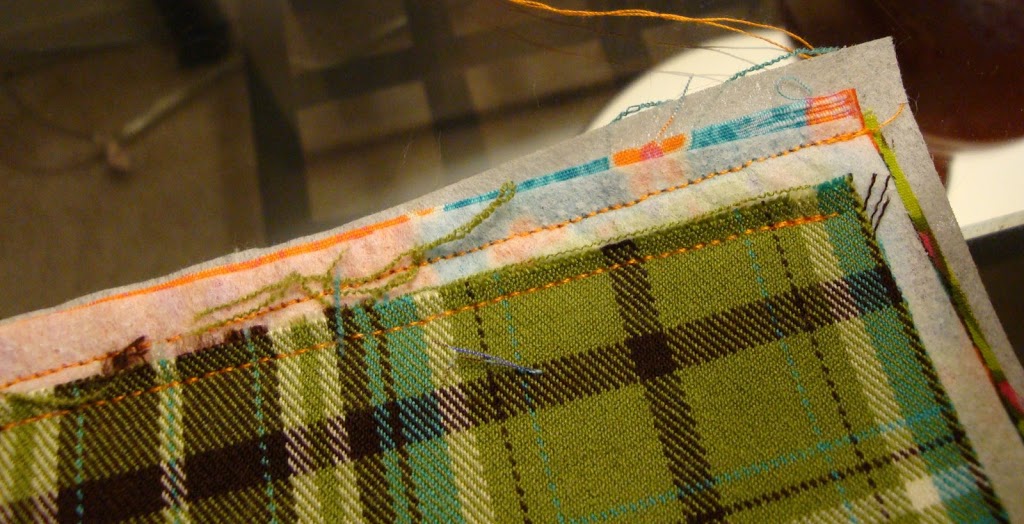
6. Sew the crayon holder onto the bag by using a straight stitch down the bottom. I lined up the bottom of the crayon holder to the foot.
* It is kind of hard to tell because of the fabric design, but the bottom of the crayon holder is where the blue dotted/orange dotted design ends.
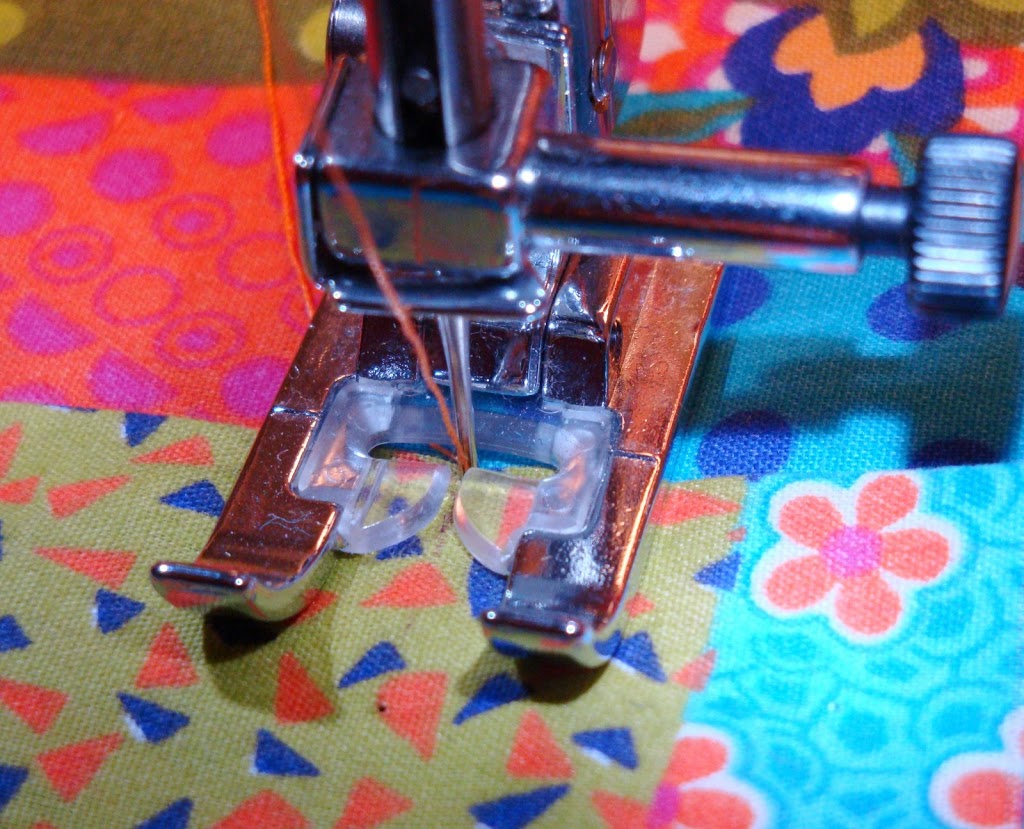
7. Stitch each 1″ divider. I marked the one inch marks with a water soluble marker to make it easier to stitch a straight line. Backstitch at the top and the bottom.
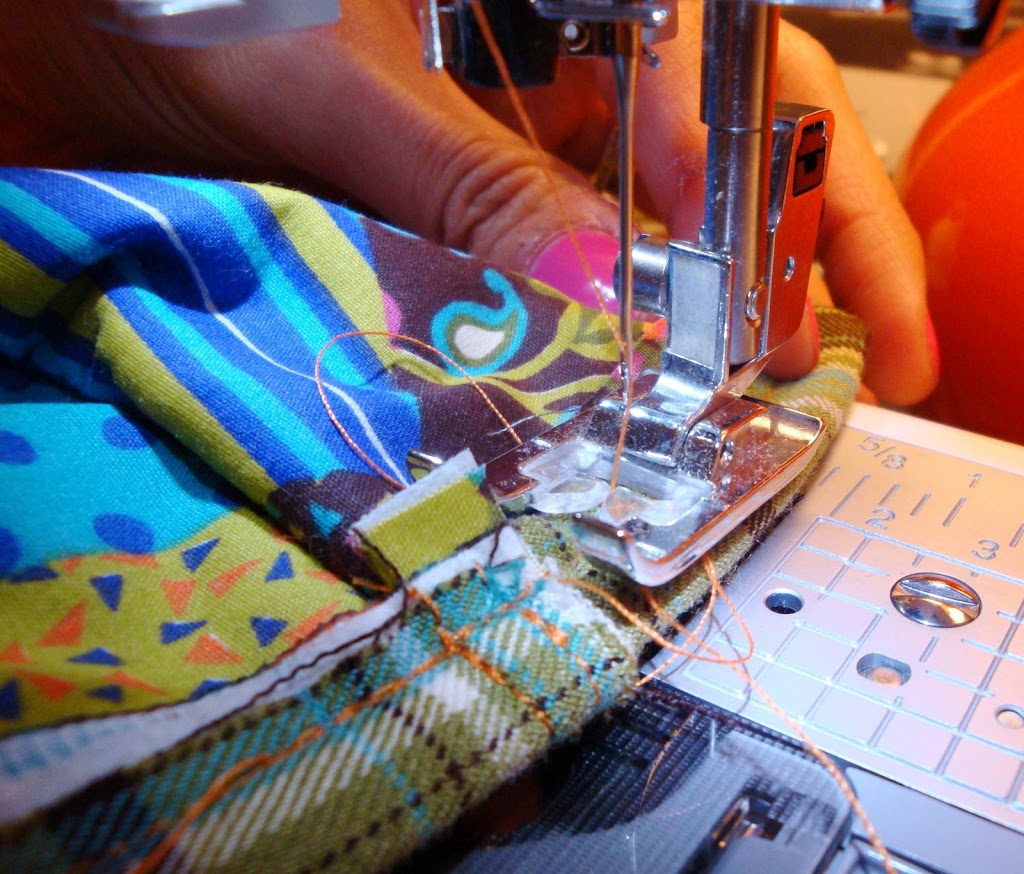
8. Sew the side of the bags . Again, I lined up the edge of the fabric (not the interfacing) with the foot. This is where I should have cut the interfacing smaller than the fabric. You’ll see that there is interfacing on the side of the fabric.
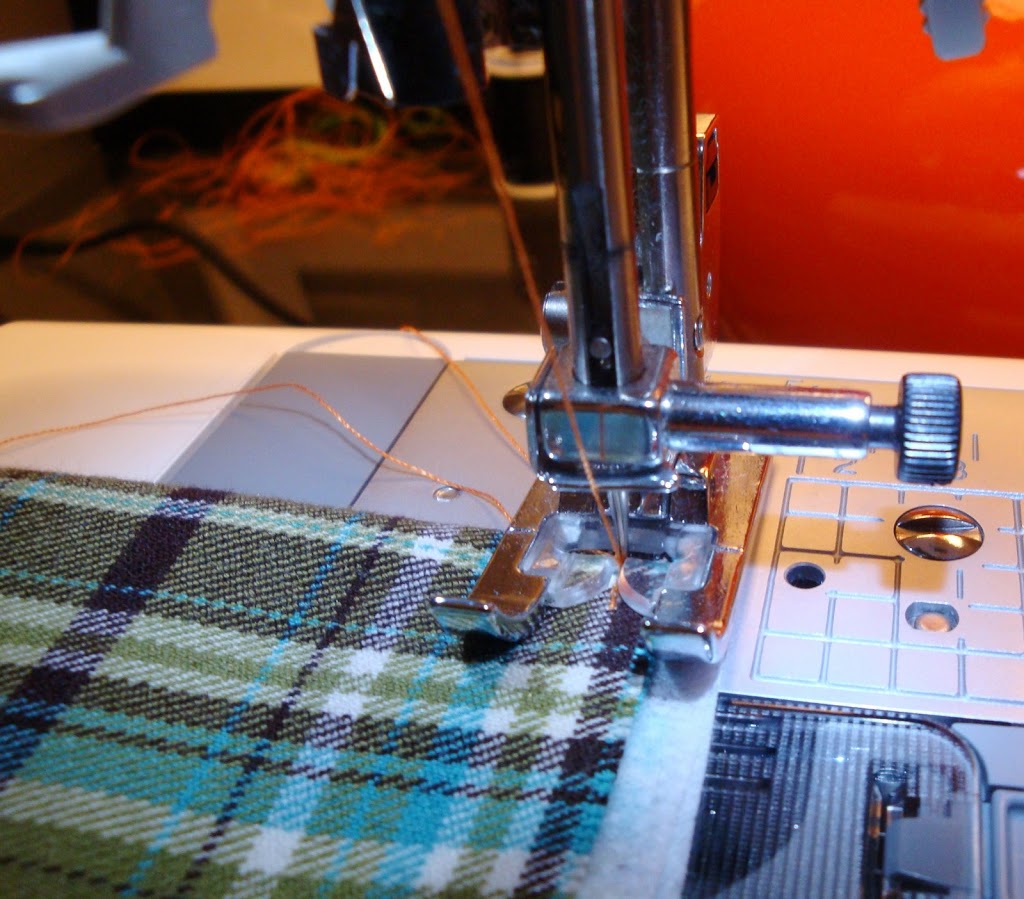
9. You probably won’t have to do this, but I had to stitch it again because there was too much fabric on the sides. I sewed another straight stitch on each side and cut the excess fabric.
10. Fold over the top of the bag 1/4″ inch and sew a straight stitch. Be careful to just sew one side of the bag and not to catch the other side underneath it.
* Finish sewing it going all the way around.
* Trim the ugliness extra once the stitching is done
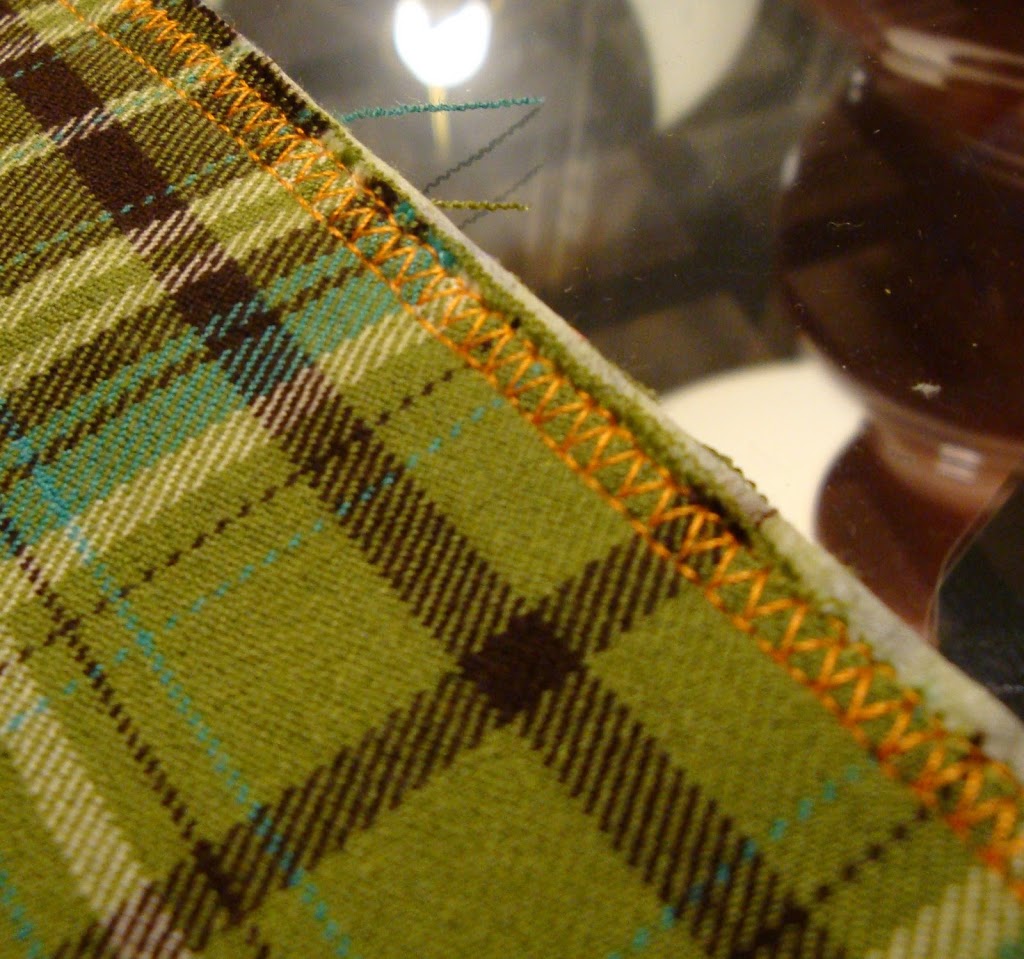
11. I don’t have a serger so I finished my edges using a zig zag stitch. I think this depends on the type of fabric you use. Mine was starting to fray. Trim.
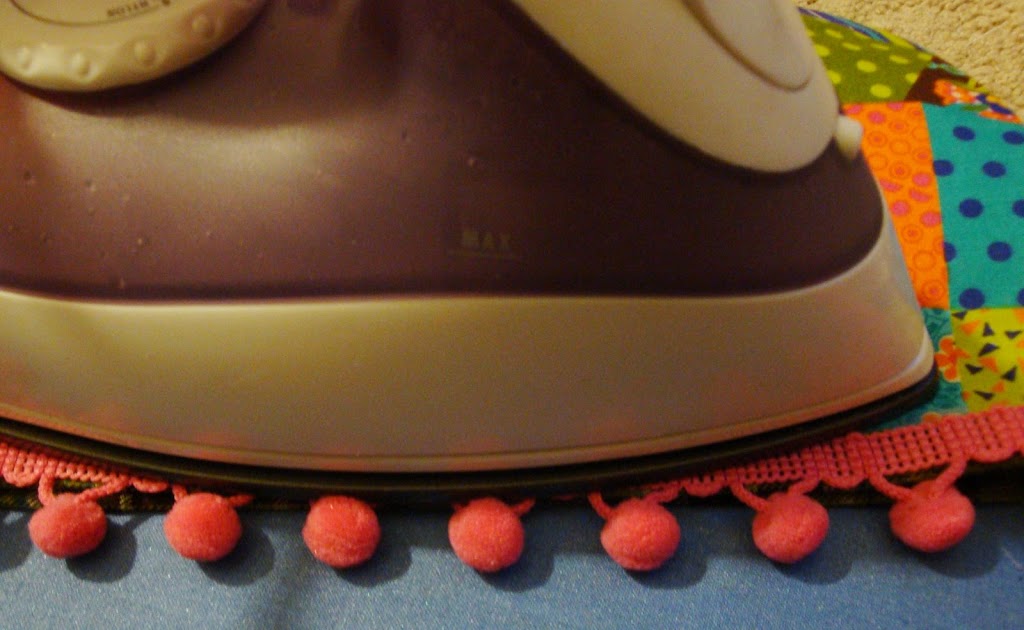
12. I cut two pieces of webbing 9 1/4″ long to attach the pom pom fringe.
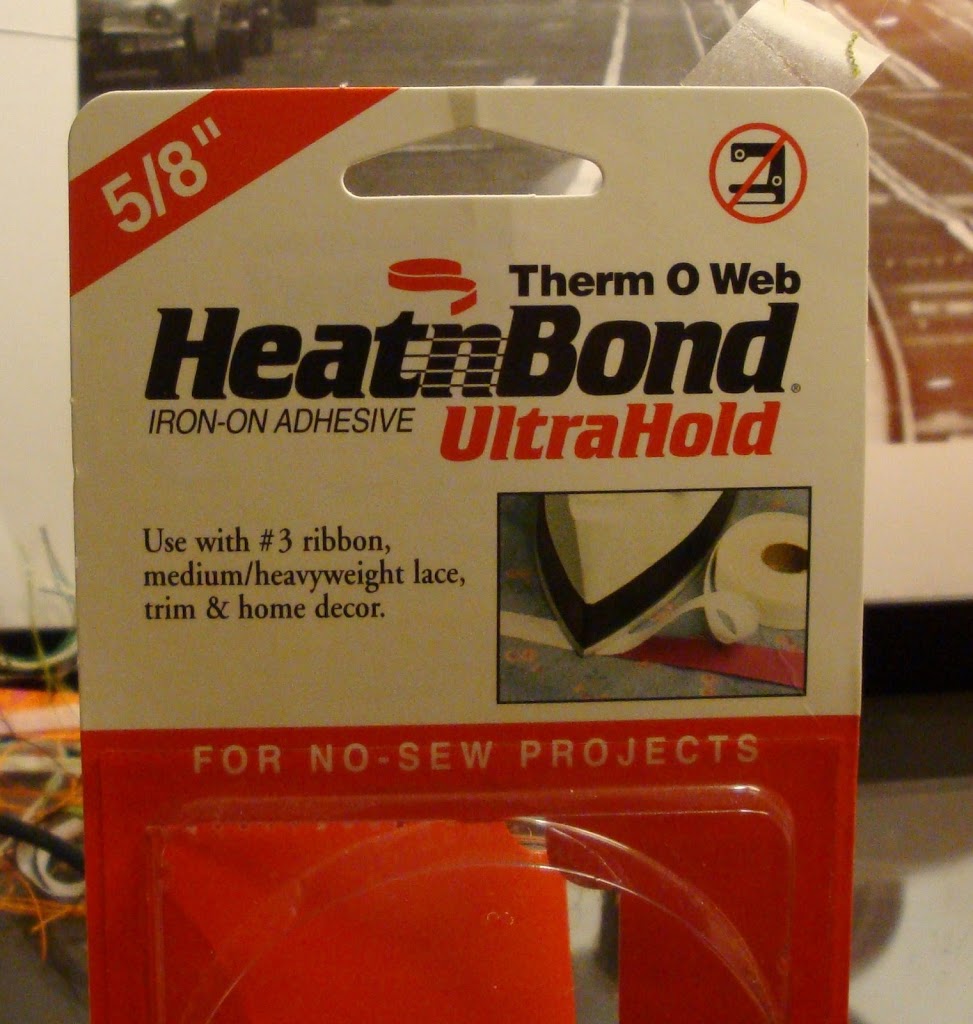
13. Iron on according to instructions.

14. Iron on the pom pom fringe (or whatever fringe you use, if any).
15. Sew on a strap. Mine measure 32″ long and you are DONE!
Embellish as you please. I added her name to the bag using “purse-n-alize it” letters from Jo-anns. A box of eight crayons and two paper pads will finish this project.
Originally published on April 10, 2009. Last Updated on January 2, 2019 by Pattie Cordova

1 Comment